
Python is a beginner-friendly, high-level programming language which is easily readable. It was created in the 1980s by Guido van Rossum and was coined Python because he liked the humour of the Monty Python comedy group.
It's one of the most popular languages in the world and is widely used for creating websites, games, etc. Due to its easy-to-learn nature, it has achieved widespread adoption. Python can also do things like math, creating pictures, decoding pictures, scraping data, etc., and can also be used in training AI models.
About Boto3
The Boto library is the AWS Software Development Kit (SDK) for Python that allows us to create, configure, and manage AWS services using APIs. The SDK provides API and low-level access to AWS.
Boto3 relies on the botocore library to handle low-level operations that are required to send secure API requests to AWS. The received XML responses are then transformed to Dictionary Type. Using Boto3, we can write Python scripts to automate various tasks with AWS, including:
- Provisioning and managing Amazon Elastic Compute Cloud (EC2) instances
- Storing and retrieving data from Amazon Simple Storage Service (S3)
- Setting up and managing Amazon Virtual Private Clouds (VPCs)
- Sending and receiving emails using Amazon Simple Email Service (SES) and much more
Overall, using Boto3 and Python to automate AWS infrastructure can save us time and effort and help in managing resources more efficiently.
Prerequisites
- AWS Account with Billing Enabled
- Python3 Development Environment
- Discord Account
Setup & Coding
Create the Bot
Step 1: Log in to Discord and navigate here.

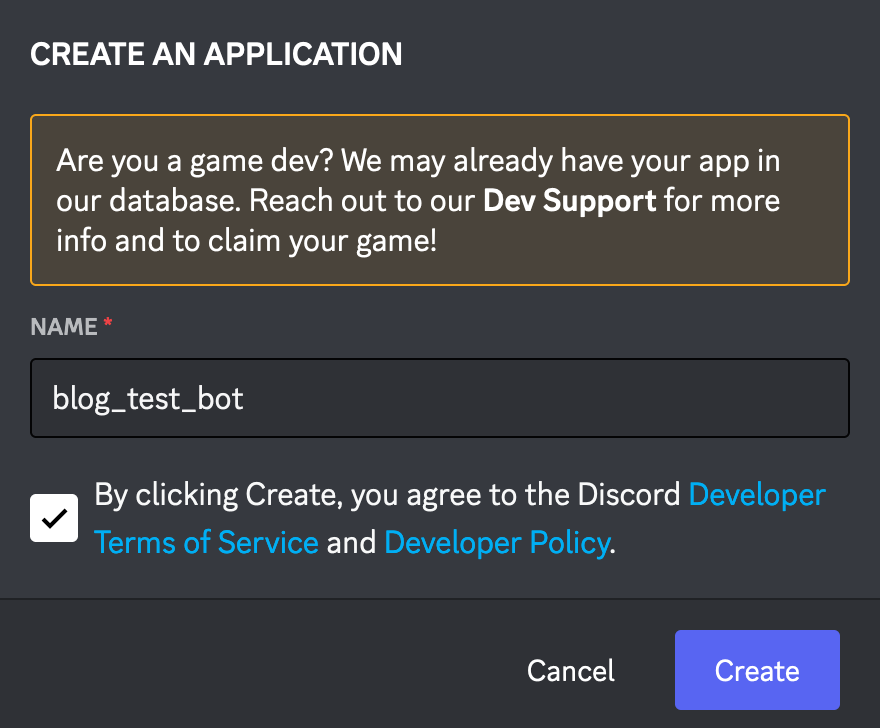
Step 2: Click on New Application, fill in the details and click Create.
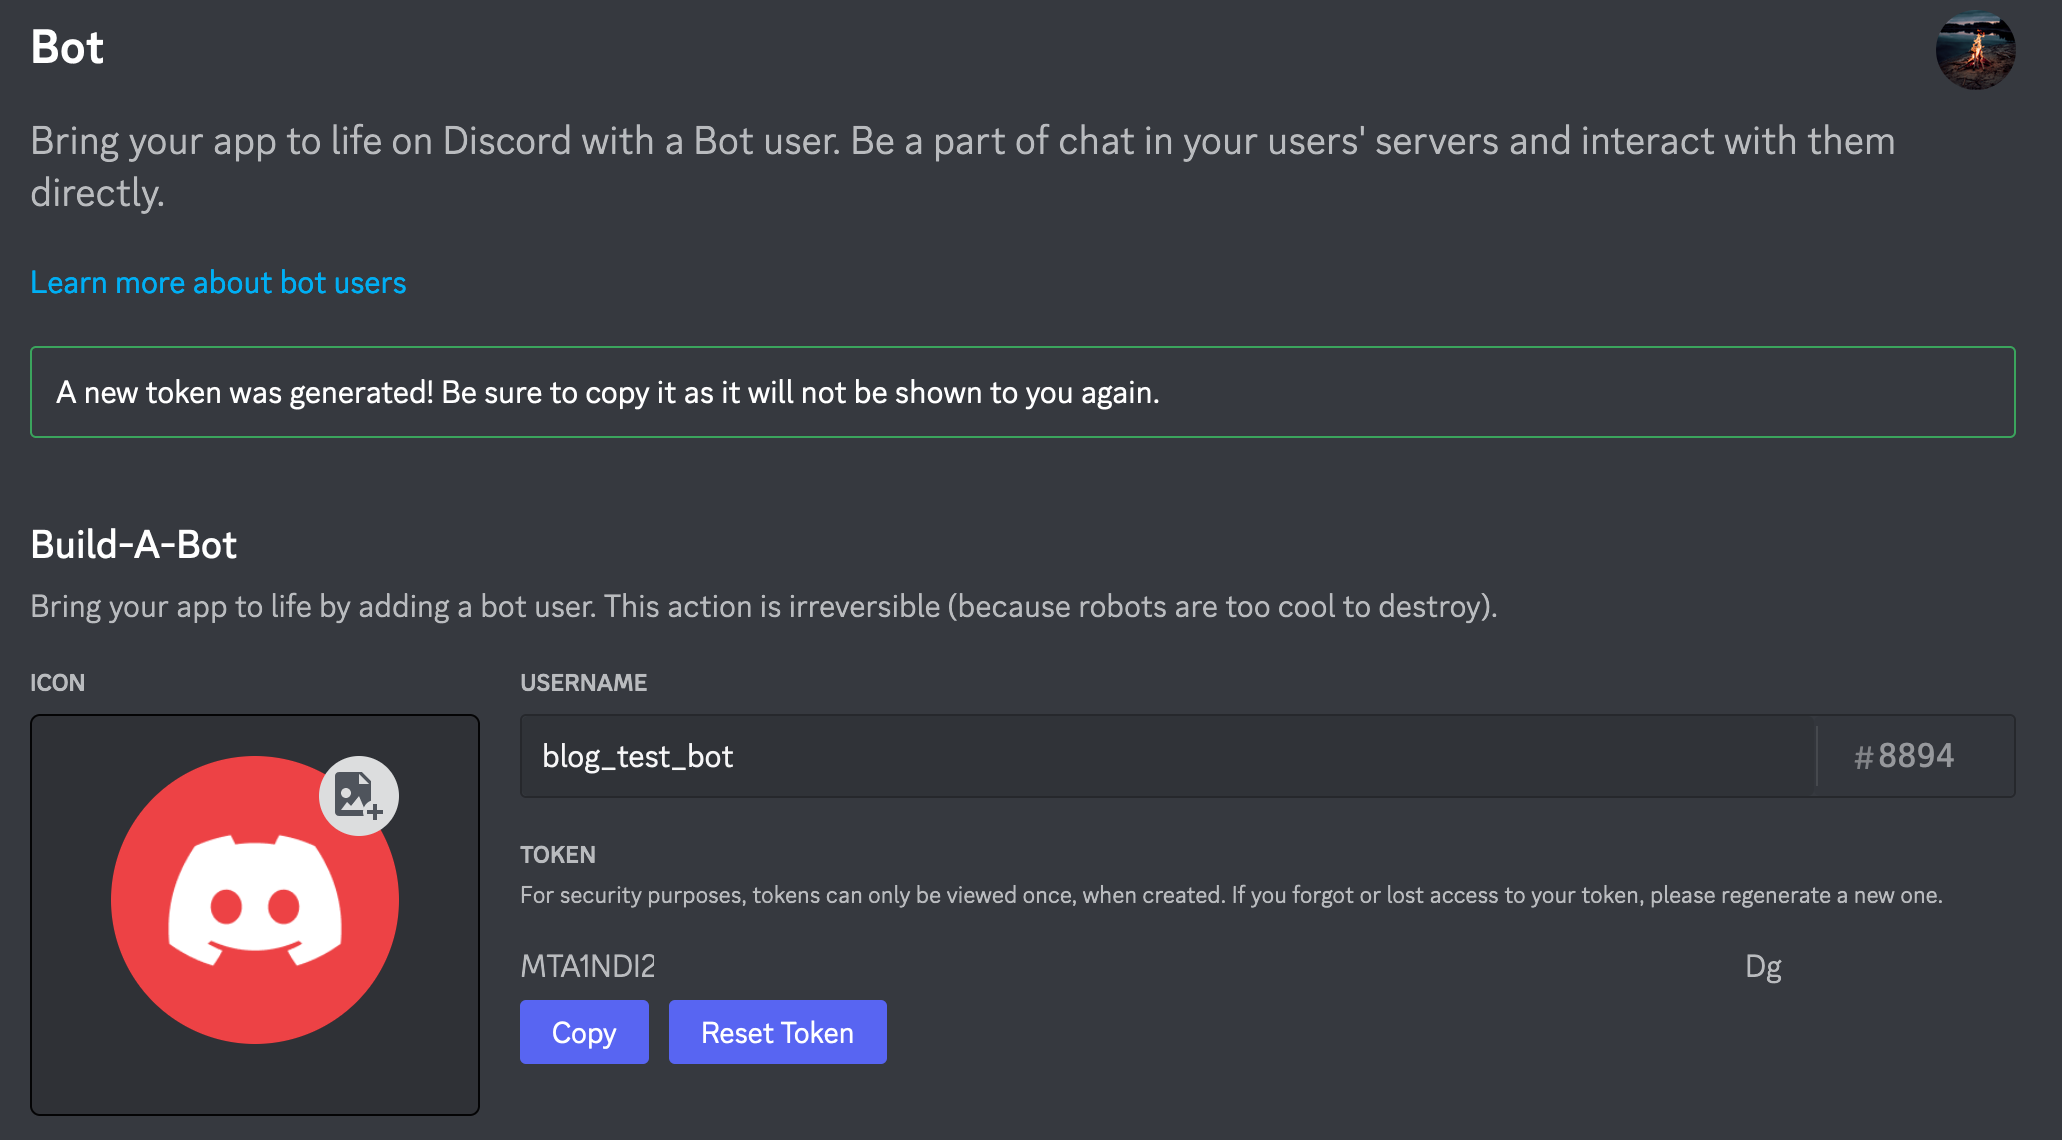
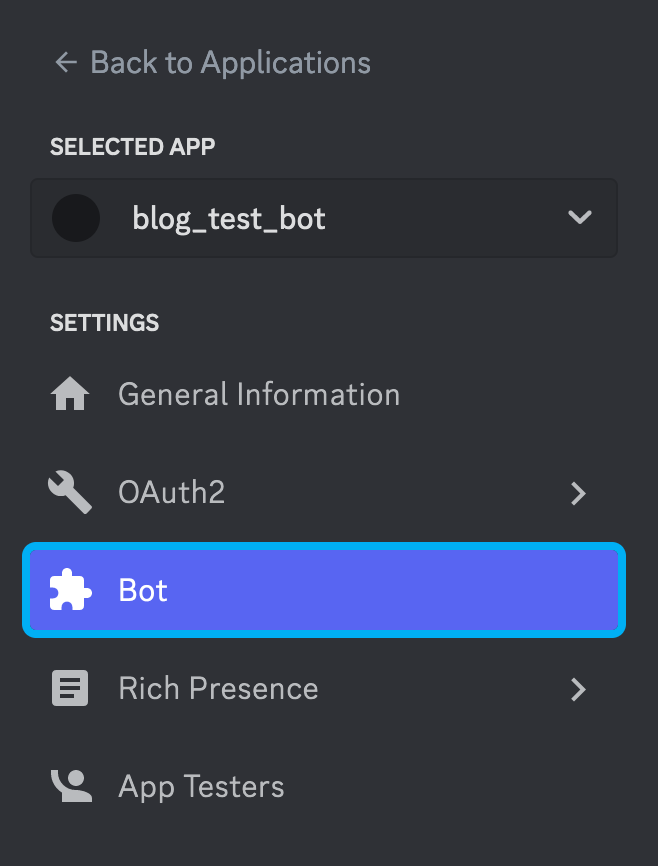
Step 3: Once created, go to the Bot tab and click Add Bot.


Step 4: Go to the OAuth2 tab, click on the drop-down and select URL Generator. We'll now pick the permissions for our bot.
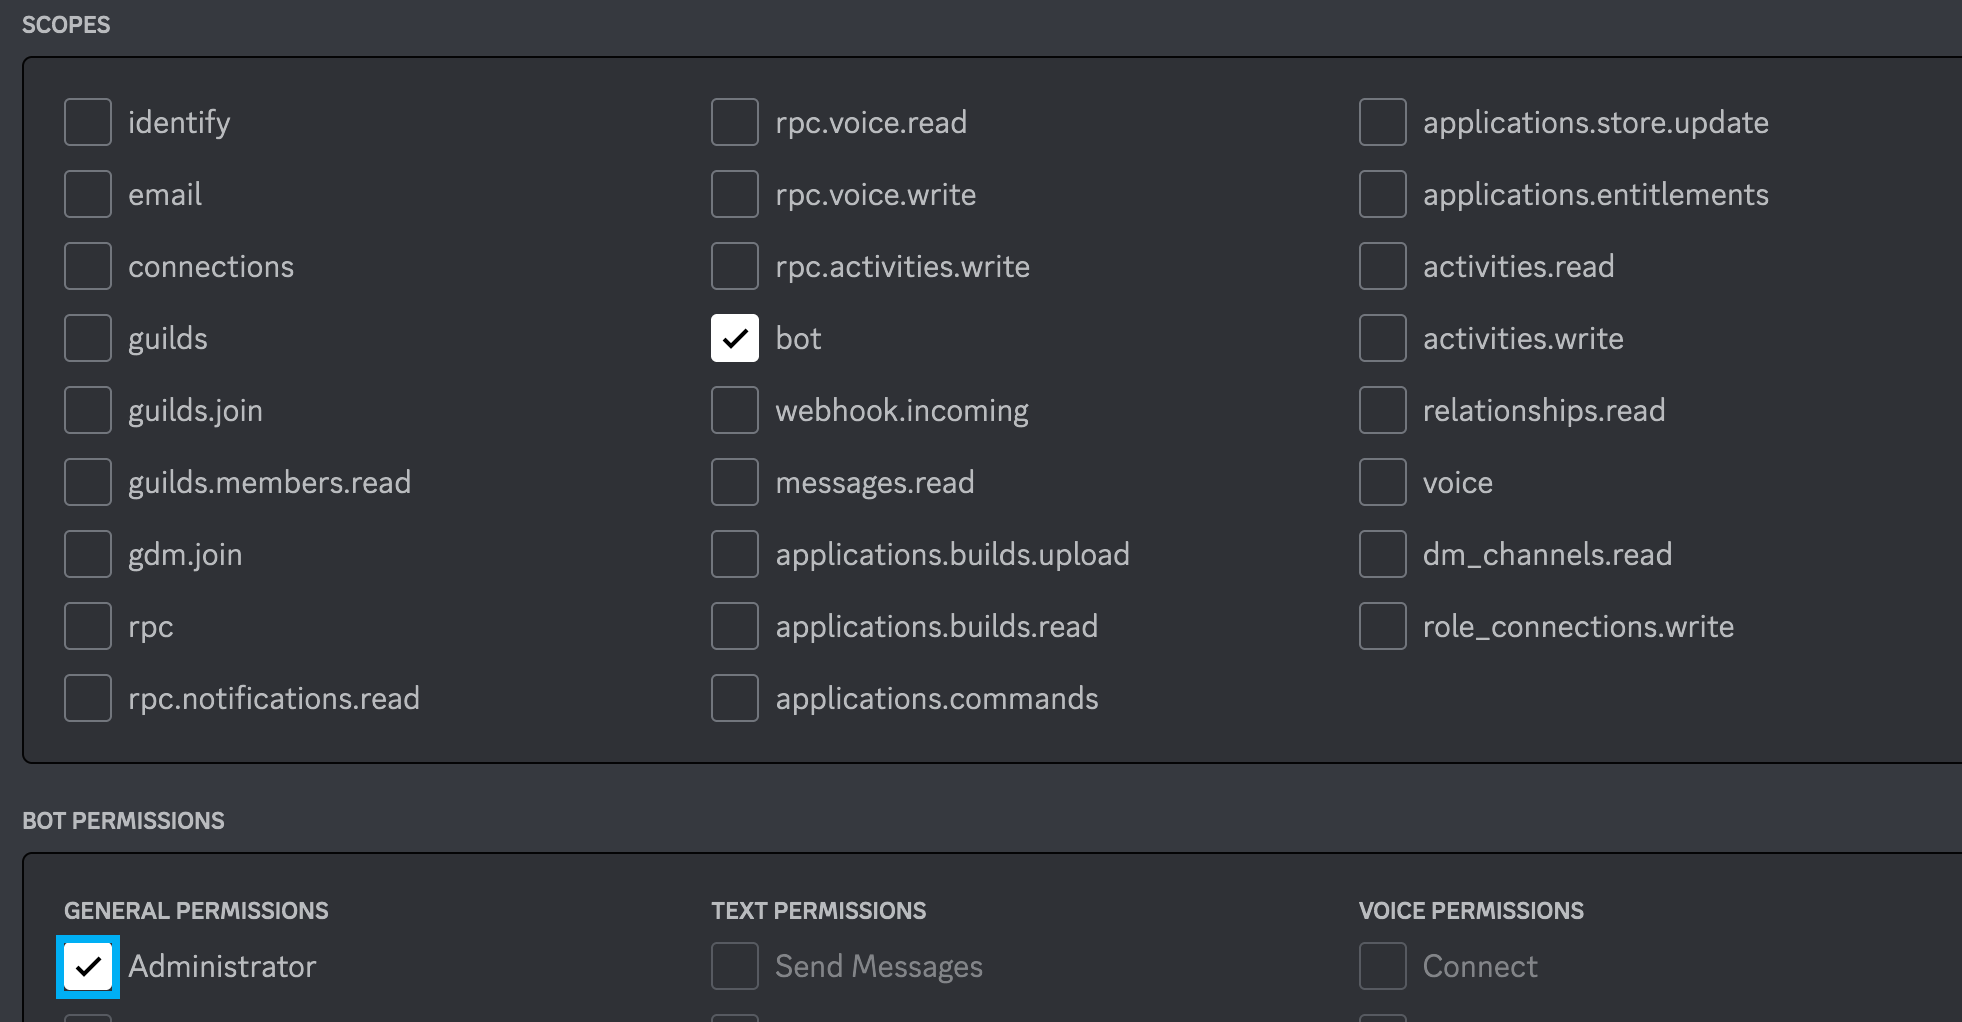
Step 5: After you've picked the permissions, scroll down, and look for the auto-generated URL. This link contains parameters that will authorize the bot to access a server of our choice.

Now that our bot is created, let's work on the code for the bot itself!
Code the Bot
Setup a Virtual Environment
Step 1: Create a Virtual Environment
python3 -m venv venv
Step 2: Activate Virtual Environment
source venv/bin/activate
Install the Required Packages
Step 1: Create a file called requirements.txt. In this file, we will add the required packages.
boto3
discord
python-dotenvStep 2: Run the following command to install the packages.
pip install -r requirements.txt
Setup .env
Create an .env file and paste the recently generated token into the file as presented below.
touch .env
DISCORD_TOKEN = "PASTE_TOKEN_HERE_XYZ.123.ABC_TOKEN"Create an S3 Resources Compatible Bot
Let's create a bot that can create and delete S3 resources (bucket & objects).
Create a file called bot.py and paste the following code into it.
This code contains all the required functions for performing bucket creation, bucket deletion and object deletion operations.
#In-Built Libraries
import os
import logging

#Third Party Libraries
import discord
import boto3
from botocore.exceptions import ClientError
from dotenv import load_dotenv

load_dotenv()

TOKEN = os.getenv('DISCORD_TOKEN')
intents = discord.Intents.all()
client = discord.Client(intents=discord.Intents.default())
region= 'ap-south-1'

@client.event
async def on_ready():
    print('We have logged in as {0.user}'.format(client))

def parse_command(message):
    # create s3 --name=test
	#Stripping input to remove whitespaces
    message = message.strip()
	#Splitting the input, placing it into an array
    message = message[1:]
    message = message.split(' ')
    cmd = message[0]
    resource = message[1]
    args = message[2::]
	#Finally the input is provided out as a JSON
    return {
        "cmd": cmd,
        "resource": resource,
        "args": args
    }

@client.event
async def on_message(message):
    if message.author == client.user:
        return
    command = parse_command(message.content)
    # print(command)
    if message.content.startswith('$'):
        if command['resource'] == "s3"  and command['cmd'] == "create":
        # Parse args
            bucket_name = command["args"][1]
            # print(bucket_name)
            aws_create_s3bucket(bucket_name)

        elif command['resource'] == "s3"  and command['cmd'] == "delete":
        # Parse args
            bucket_name = command["args"][1]
            aws_delete_s3bucket(bucket_name)

def aws_create_s3bucket(bucket_name):
    """
    If a region is not specified, the bucket is created in the S3 default
    region (us-east-1).
    :param bucket_name: Bucket to create
    :param region: String region to create bucket in, e.g., 'us-west-2'
    :return: True if bucket created, else False
    """
    # Create bucket
    try:
        if region is None:
            s3_client = boto3.client('s3')
            s3_client.create_bucket(Bucket=bucket_name)
        else:
            s3_client = boto3.client('s3', region_name=region)
            location = {'LocationConstraint': region}
            s3_client.create_bucket(Bucket=bucket_name,
                                    CreateBucketConfiguration=location)
            print(f"Bucket {bucket_name} has been created!")
    except Exception as e:
        logging.error(e)
        return False
    return True

def aws_delete_s3bucket(bucket_name):
    # delete bucket
    try:
        s3_client = boto3.client('s3', region_name=region)
        ##Delete bucket objects function is called during bucket deletion
        delete_all_bucket_objects([bucket_name])
        s3_client.delete_bucket(Bucket=bucket_name)
        print(f"Bucket {bucket_name} has been deleted")
    except Exception as e:
        logging.error(e)
        return False
    return True

def delete_all_bucket_objects(buckets=[]):
    s3 = boto3.resource('s3')
    print("reached delete all bucket func")
    for bucket in buckets:
        try:
            b = s3.Bucket(bucket)
            # sns_logger(message="Deleting " + bucket + "objects")
            b.objects.all().delete()
            print(f"Bucket's {bucket} objects have been deleted")
        except Exception as e:
            logging.error(e)
            print("Deleting Objects failed: ", e)
            return False

client.run(TOKEN)
Run the App
Now, run the application using the command below:
python3 bot/test_bot.py
Output:

2022-12-19 10:41:56 INFO     discord.client logging in using static token
2022-12-19 10:41:57 INFO     discord.gateway Shard ID None has connected to Gateway (Session ID: 7db5645c5cc94e565ece3248a71xyz).
We have logged in as blog_test_bot#12xyzCommunicate with the Bot
Now that our bot is running let's provide some commands to the discord bot.
For Creating Bucket
$create s3 --name blog-test-bucket-0001Output:
Bucket blog-test-bucket-0001 has been created!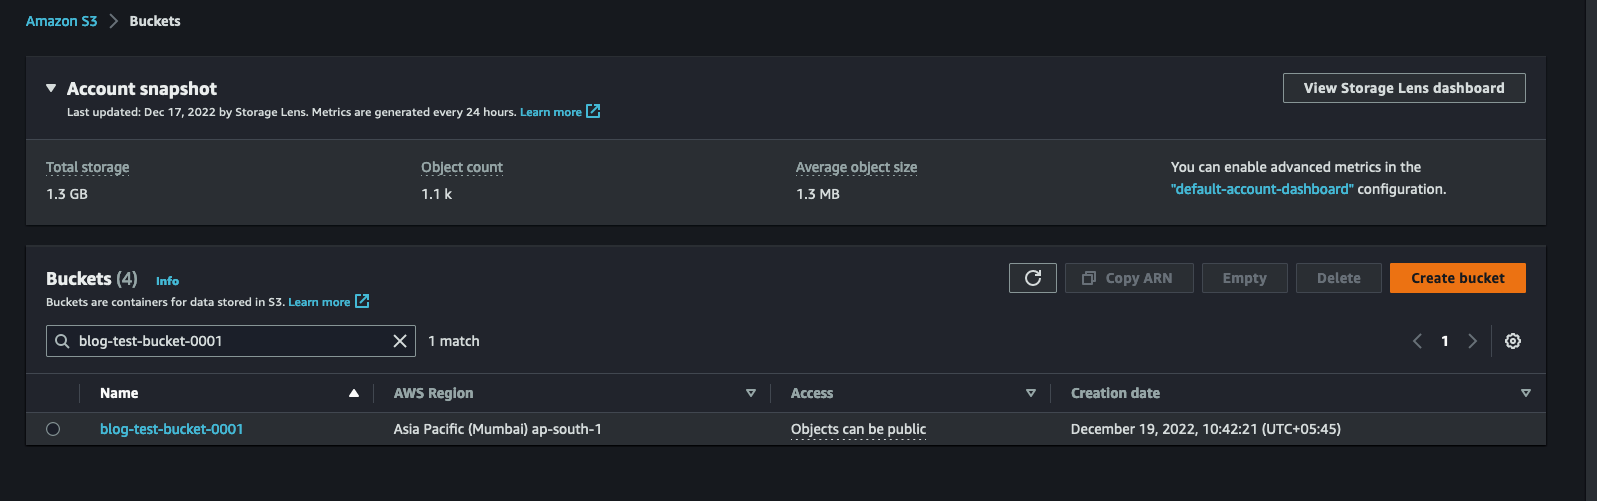
For Deleting Bucket
$delete s3 --name blog-test-bucket-0001Output:
Bucket blog-test-bucket-0001 objects have been deleted
Bucket blog-test-bucket-0001 has been deleted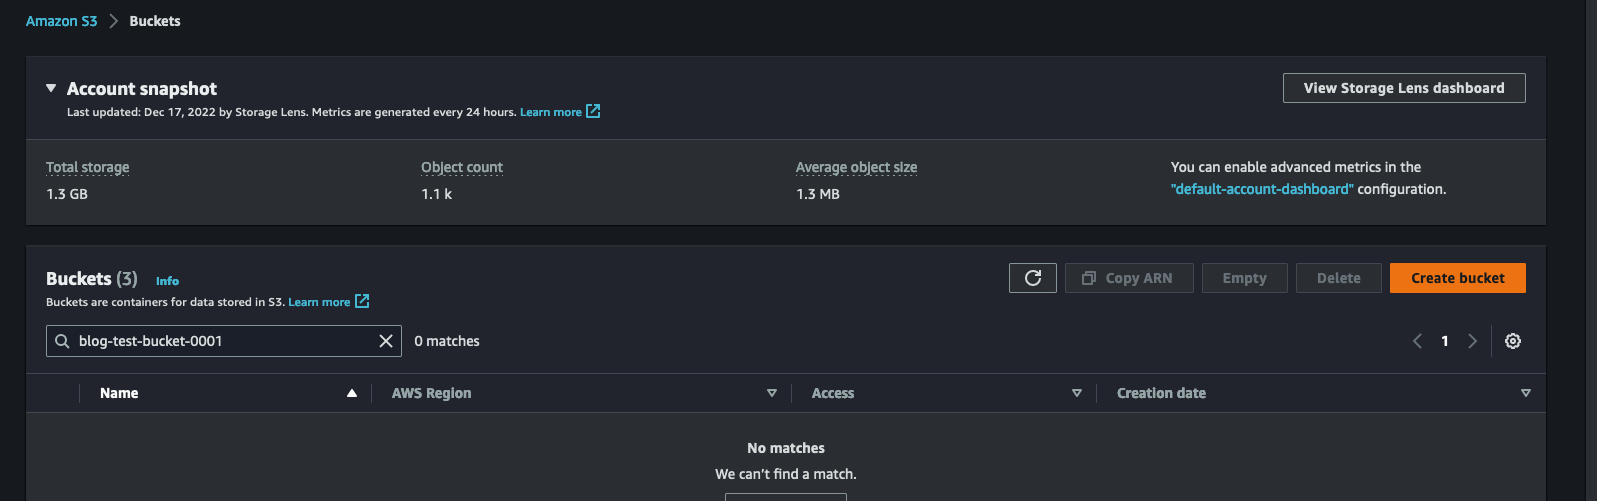
Conclusion
In this article, we learned to code a python application which controls AWS infrastructure according to the user's requirements. We learned to use libraries like Boto3, Logging, Discord, etc., to create our application.
In the next article, we will learn to implement AWS Lambda Functions and API Gateway in our Python Application.
Thanks for reading! Please drop any queries you have below, I'll periodically keep updating this article to maintain it's authenticity.