
Actions in Photoshop records steps and help to use them again for repetitive work with just a single click. You can also edit the steps later after the recording has been saved which makes it flexible. The saved recording stays in your Action panel even after Photoshop is closed so you can keep using it for future tasks. This Actions panel is also available in Clip Studio Paint.
When working in Photoshop, you might come across repetitive, mundane and tedious tasks that are very long. Examples of those tasks might be resizing hundreds of photos, batch-processing images or applying similar effects. If you were to do these tasks manually, you would have to import, scale them, apply effects and export them one by one. Even though the work may have been simple, it would take a lot of time to do the same task in multiple documents. Using actions will automate the work and you will achieve the same or even better and more consistent results in less time than doing them manually. This will help to increase productivity by eliminating the time required to do the repetitive work.
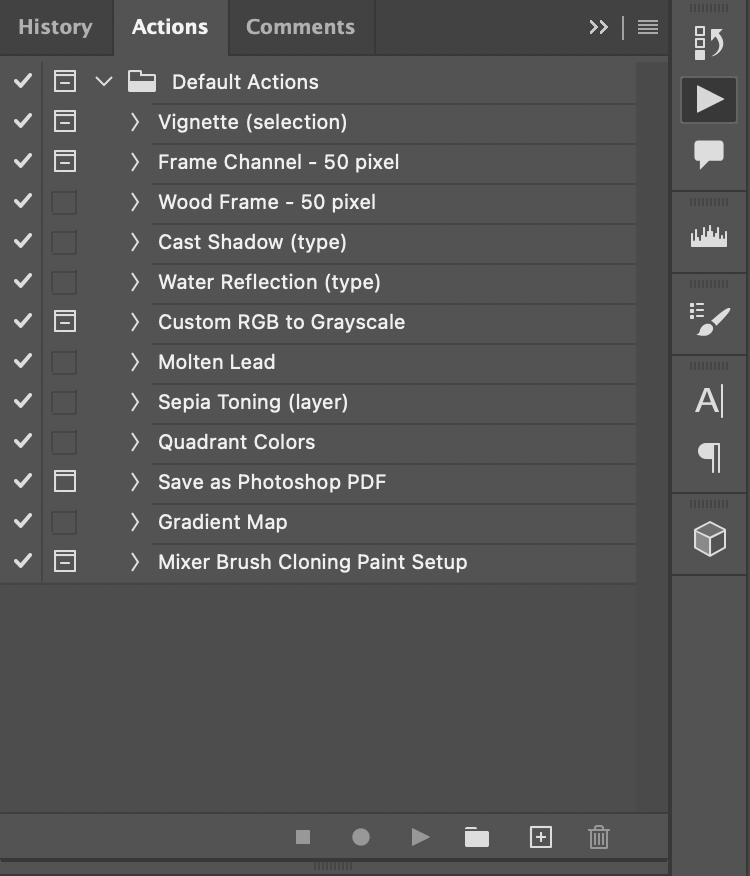
Opening the Actions panel
From the Actions panel window, you will be able to record, edit, load, save, delete and play the actions.
- To see the Actions panel, activate it from the Windows tab on the top menu bar. Click on it to activate it. A tick mark will appear beside it and the actions panel will open in a list view mode in your Photoshop document.
Recording the process
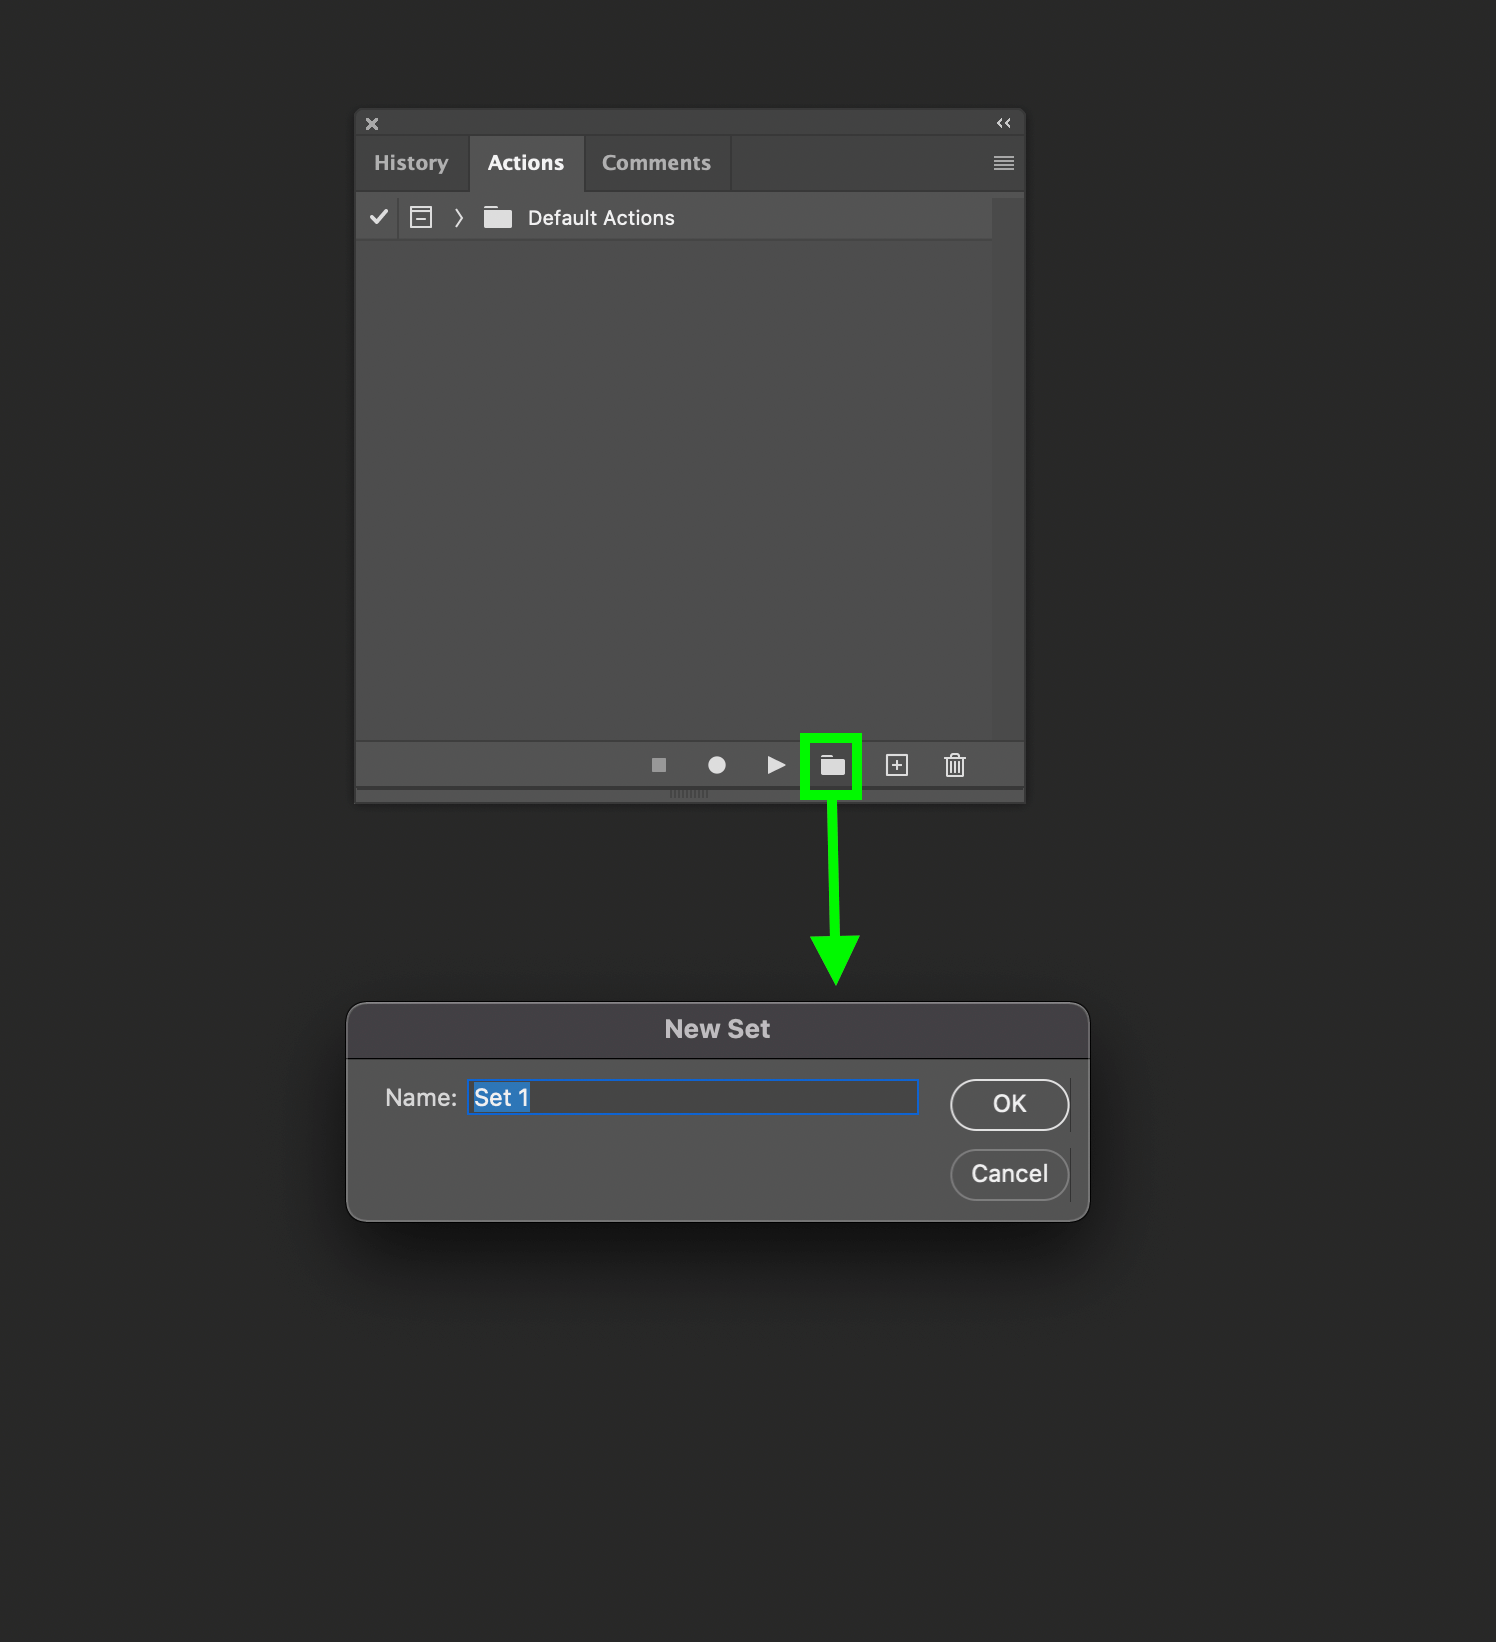
If you are going to create a new action, you can close the Default Actions to clear the space in the window.
- Before creating a new action, creating a set will help to organize the actions in folders. Click on Create new set (Folder icon) on the bottom section of the Actions panel and a new pop-up window will appear where you can name it.
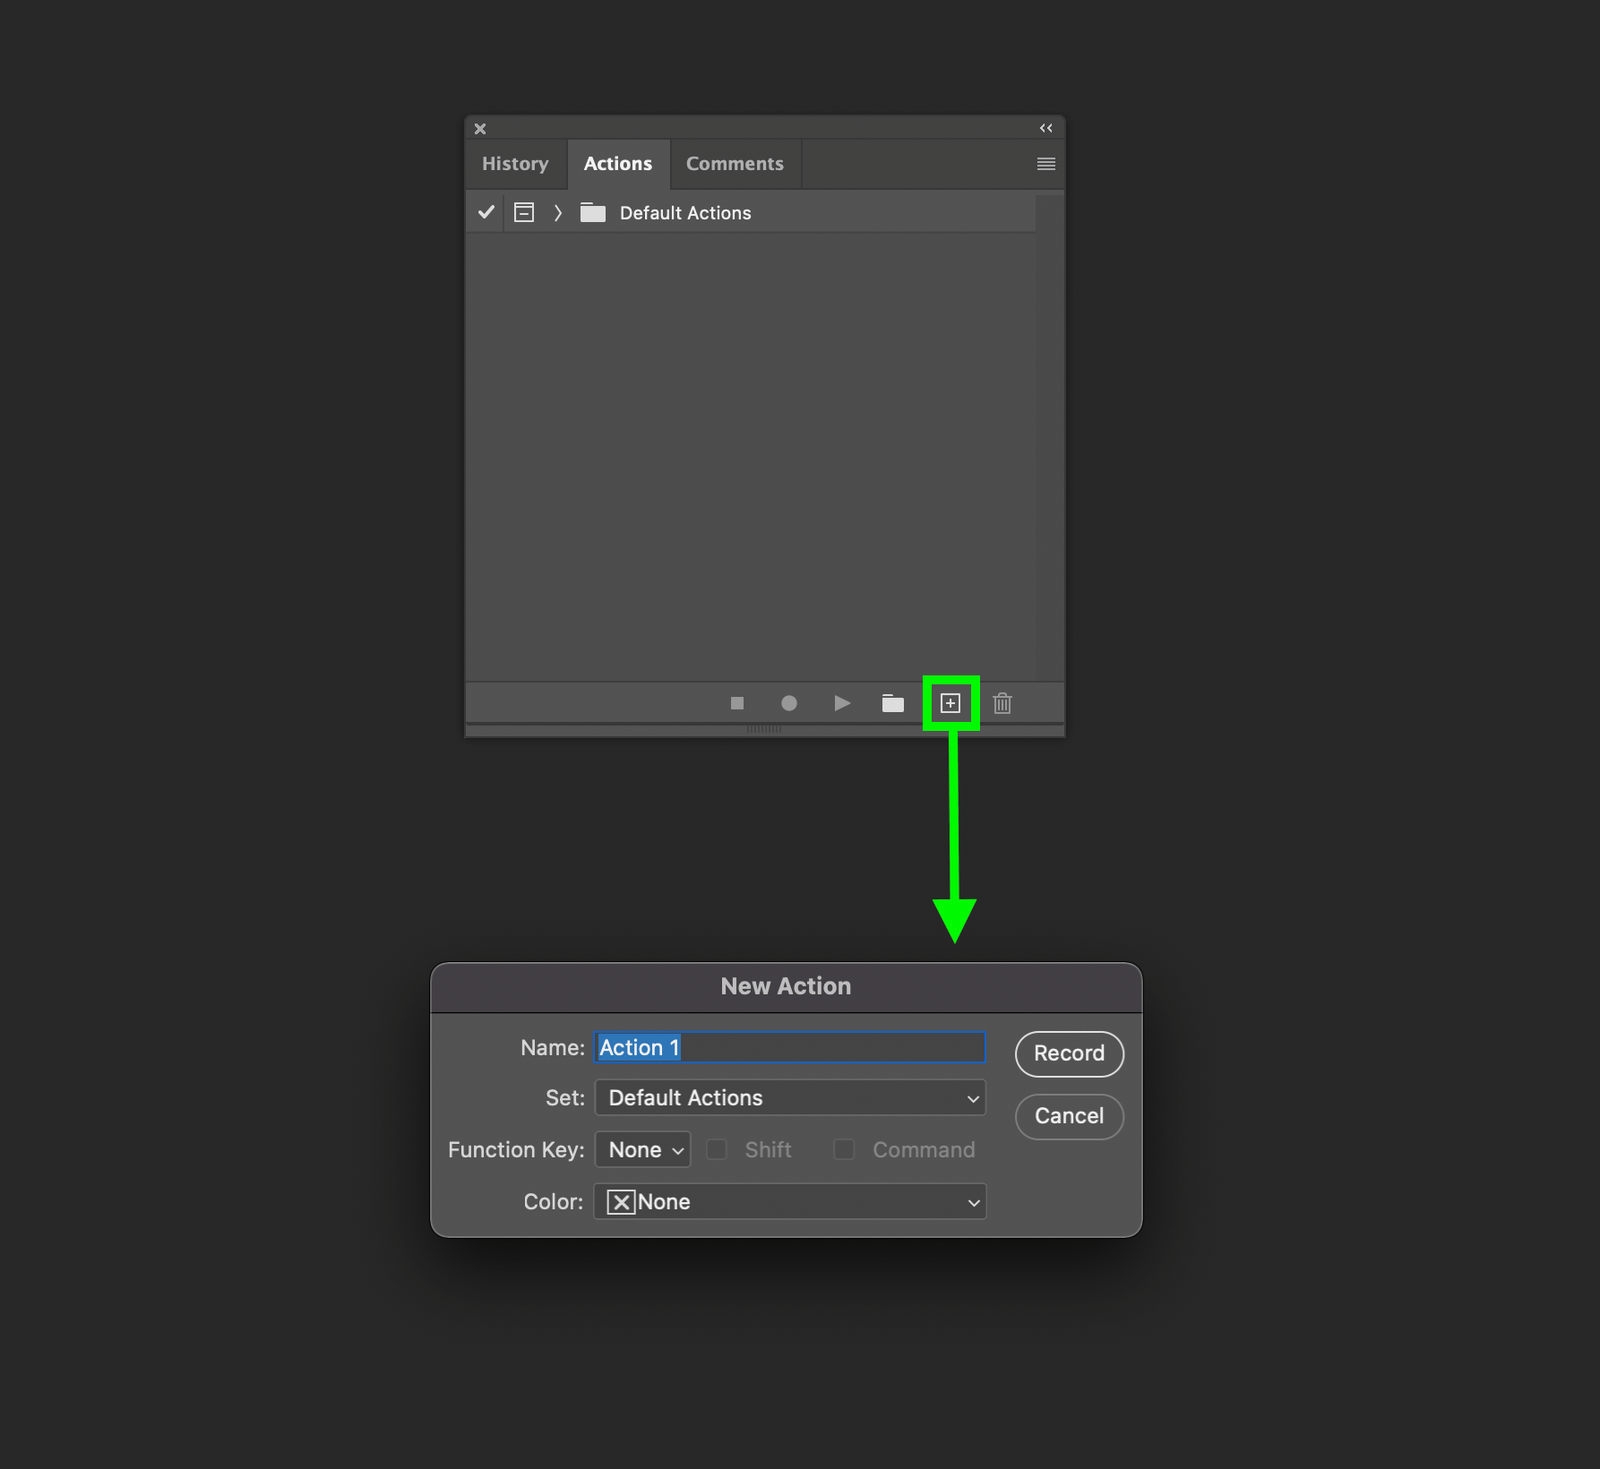
- Click on the Create new action (+ icon) on the bottom right of the Actions panel to create a new action.
- A new pop-up window will appear where you can rename and keep the action in a set/folder. You will also be able to assign a Function key to execute your action with a single click.
- After you have named it, click on Record to start the recording process.
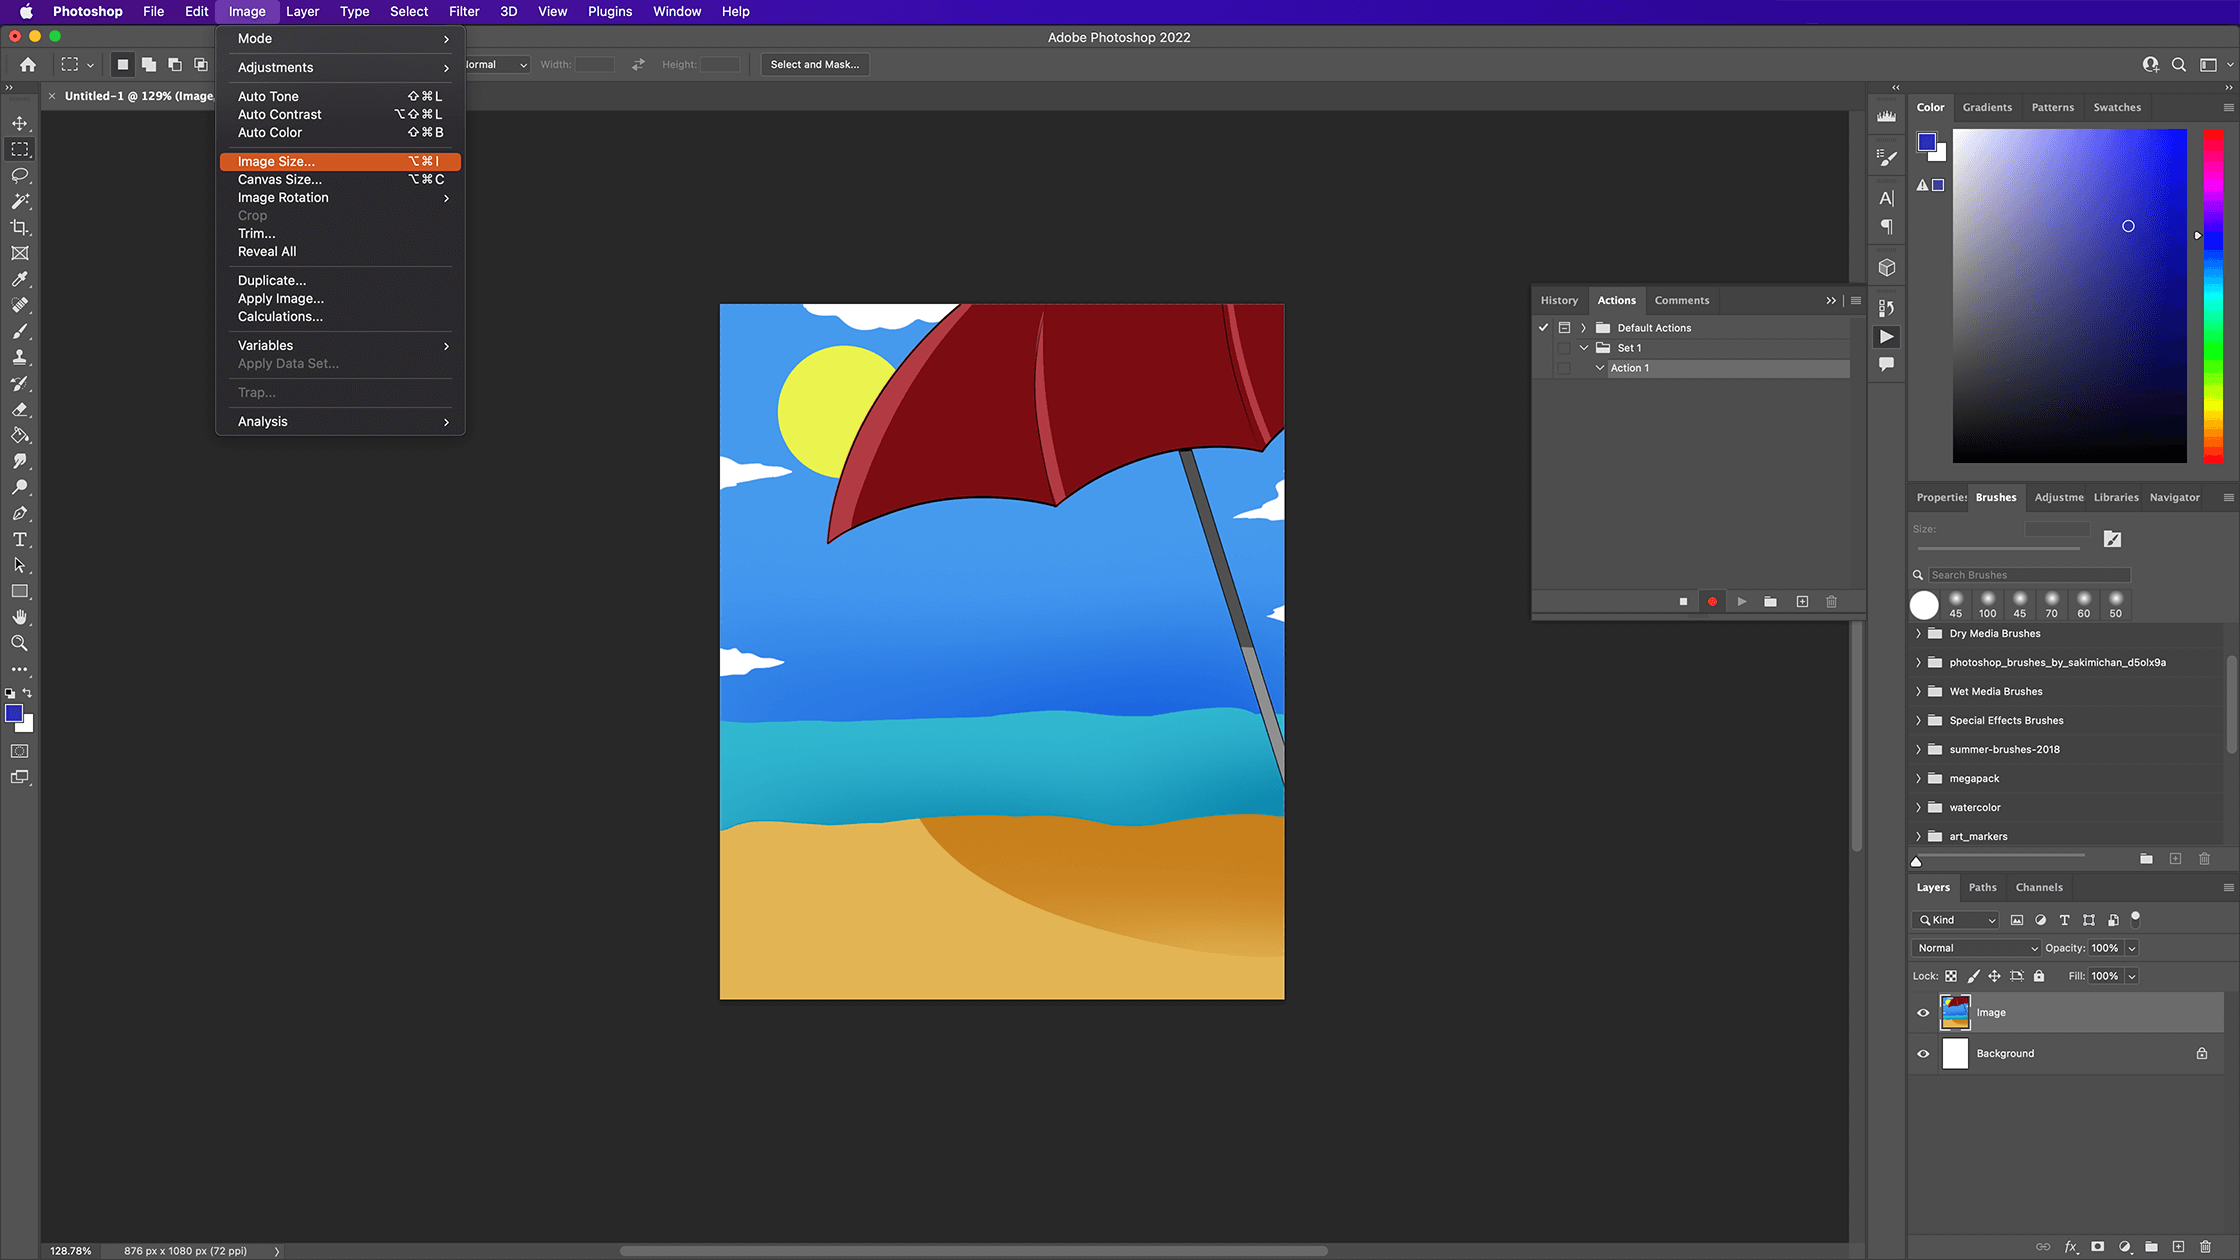
For this tutorial, I'll be performing simple steps as an example to showcase Actions in Photoshop. I want to resize many images, change their brightness and contrast, add text and save them.
- Import the image file you want to edit.
- In the Actions panel, click on Record to start recording the process.
- Now start performing your operations. From the Image tab on the menu bar, click on Image size and change its width or height.
- Click on Brightness and Contrast in the Adjustments from the drop-down menu of the Image tab. Change the brightness and contrast according to your liking.
- Click on Horizontal Type tool and start typing. Move the text layer where you want it to be placed. And save the file.
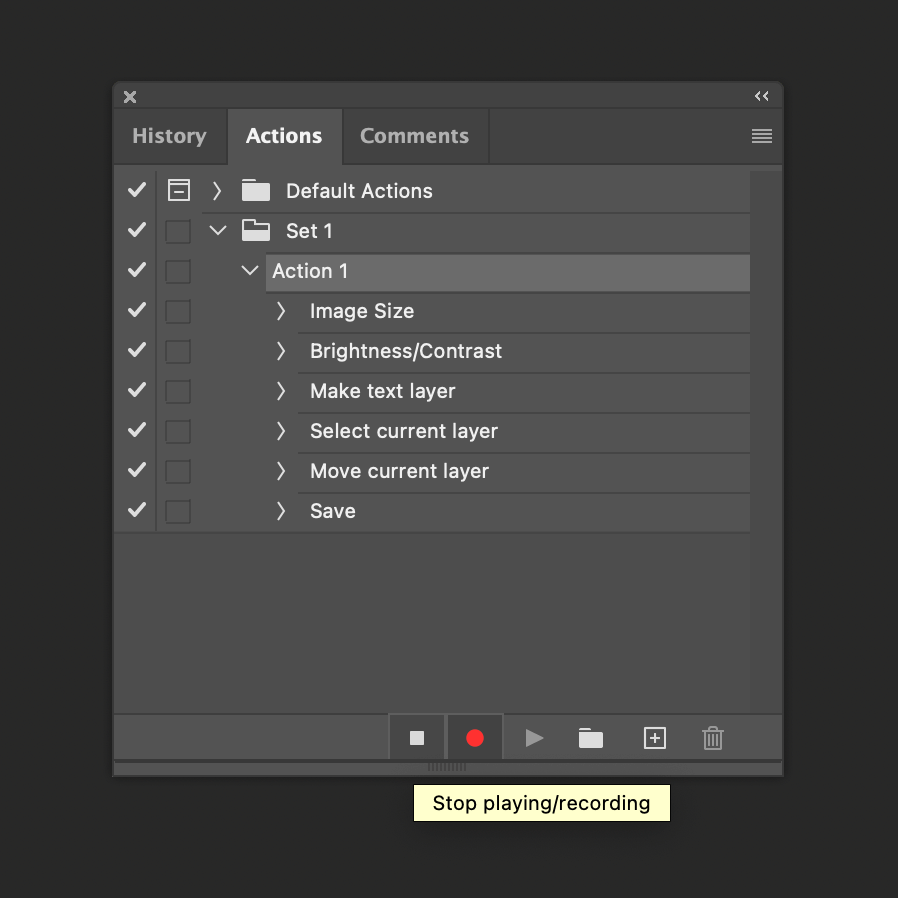
- If these are all the steps you want to perform, end the recording by clicking on Stop playing/recording from the Actions Panel. All the steps will be written as a list inside the Actions folder.
Playing and editing the recordings
After you have stopped the recording, the action will be saved in the Actions panel.
- If you want to execute the process, first import the image file where you want to apply the same steps.
- Click on Play selection. And voila, it will start applying the same steps on the new image file.
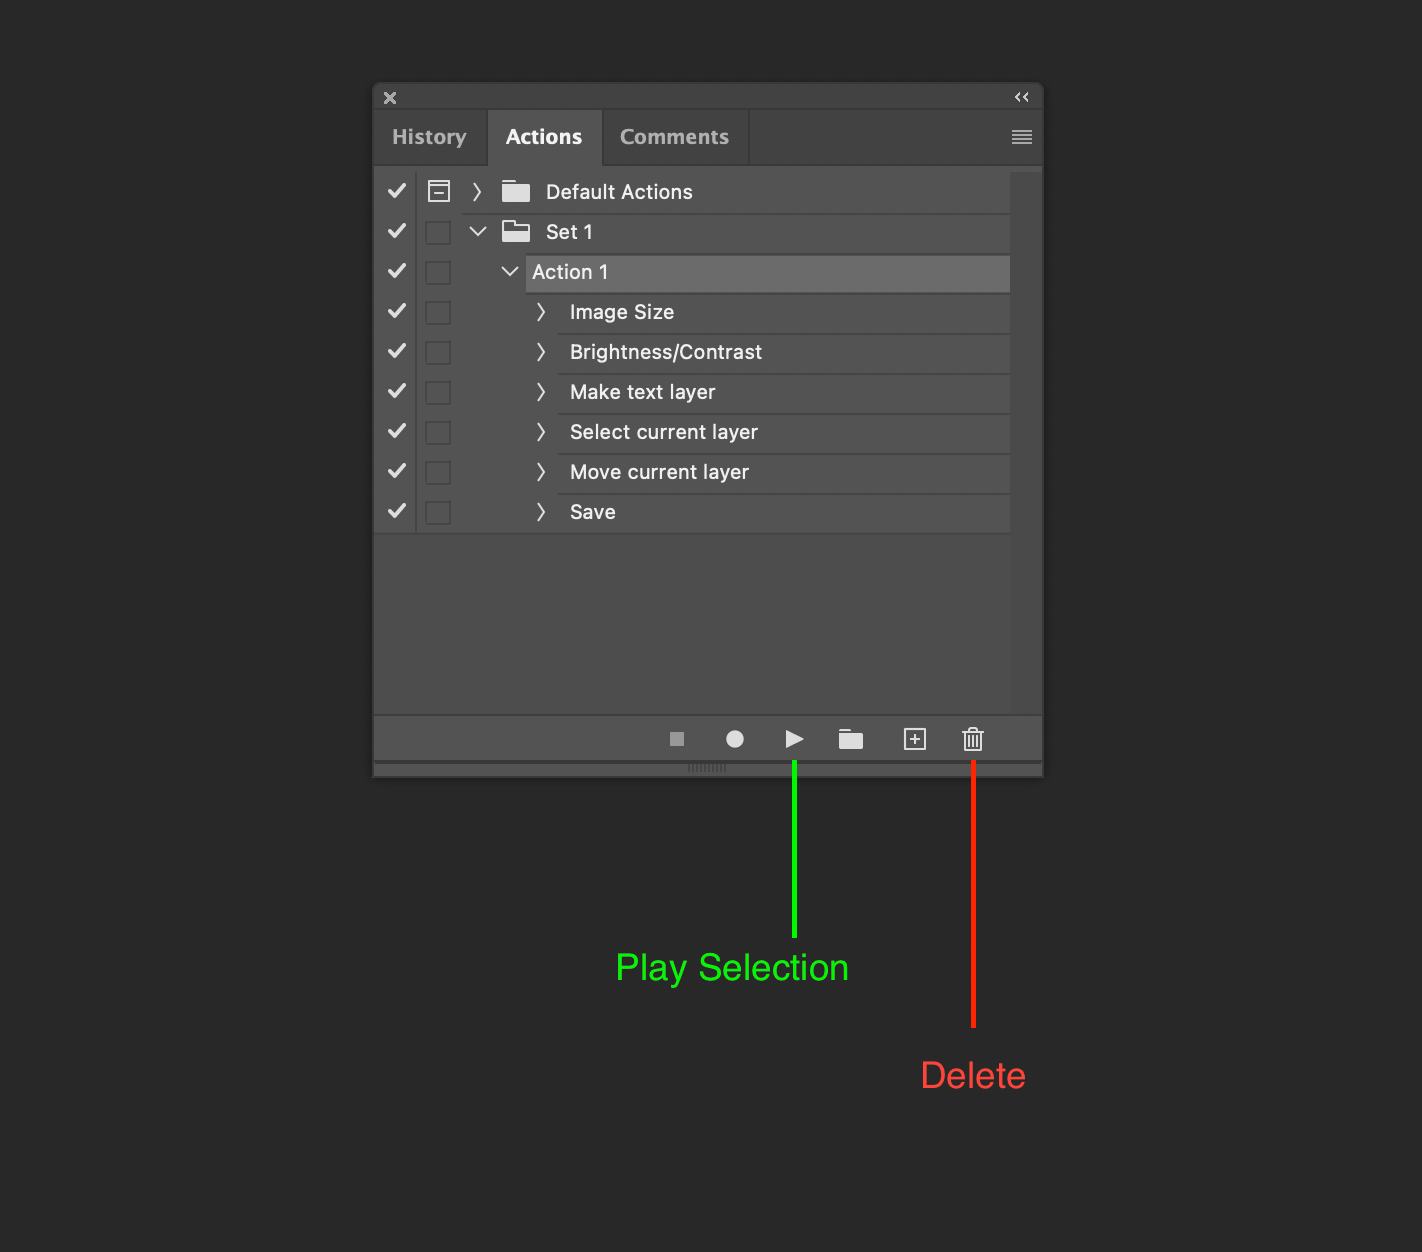
- If you want to delete a step or the entire action, you can click on Delete on the bottom-right of the Action panel.
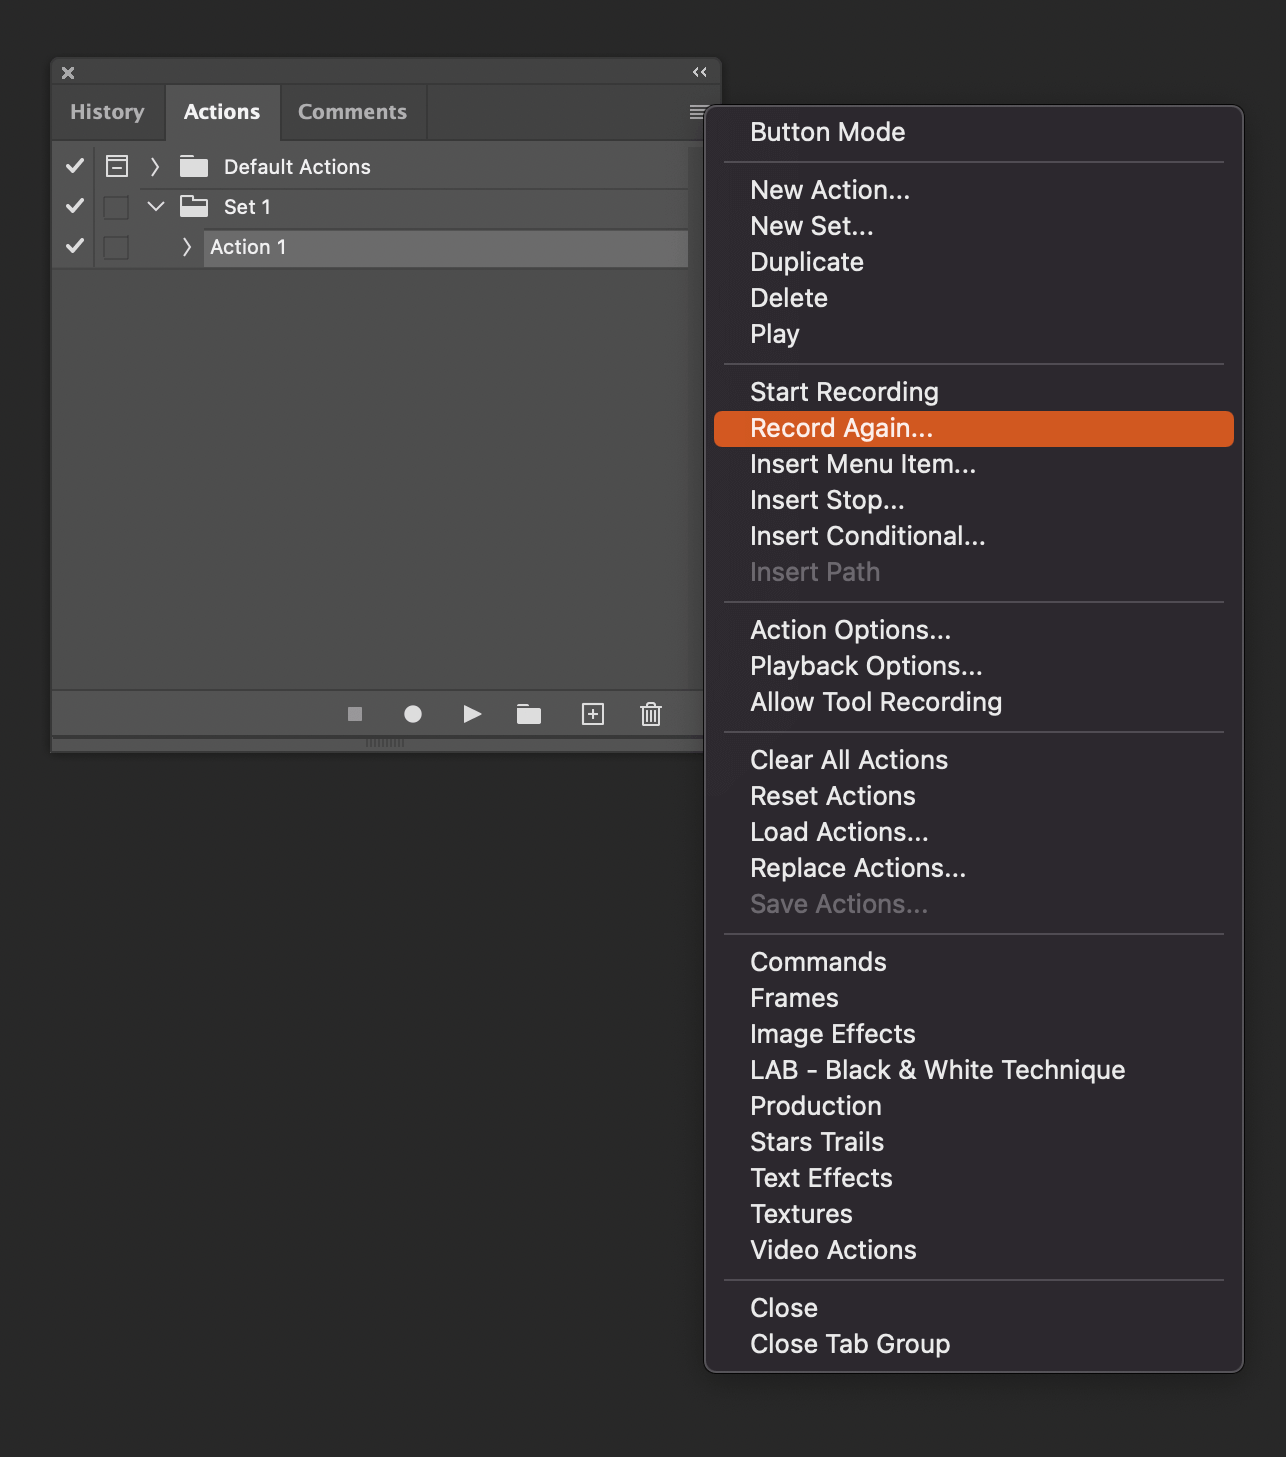
- You can also edit the steps. Double-click the step you want to change or click on Record again from the Actions panel menu to change the values of the steps.
This was a simple example to record and play action. You will also be able to record and execute much more complex long operations with this Actions panel.
Thank you for reading. See you in the next one.