
Alignment is one of the most important design principles that can be applied to achieve the perfect layout and experience of any graphical composition with multiple elements. In my previous article, I talked about the alignment tool and techniques that help you align the objects in the art-board in desired ways, in illustrator. It was pretty simple and straightforward. You select the objects and use the alignment tools accordingly. But every designer will have encountered the problem of area alignment. Some ignore them, while some struggle to find the right way to perfectly align them. It is a case where the object alignment is not optically correct. It can also occur while aligning texts and typographies. Direct alignment tools used to achieve the alignment of multiple objects neglecting the principle of area alignment is one of the most common errors that can be found in graphic design.
Being a UI/UX designer I came across this play button design, while I was designing the interface for mobile applications. When I tried to align the triangle inside the circular button, it didn't look optically aligned. I struggled hard trying to fix it using the default alignment tools, and also manually tried to fix it. But I felt that it wasn’t the ideal fix. I had once read about the theory of area alignment in the book titled Universal Principles of Design published by Rockport. So, I looked over the internet to find the solution. The solution was centre area alignment. The alignment tool in the software used centre-edge alignment that created the problem. So in order to fix this optical alignment issue in Play buttons, here is the technique that I followed using adobe illustrator (you can follow the same process in other software as well).
1) Rigging
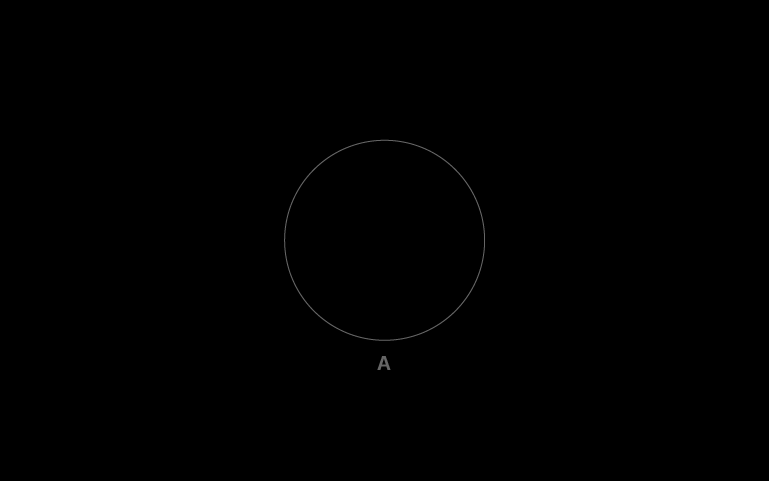
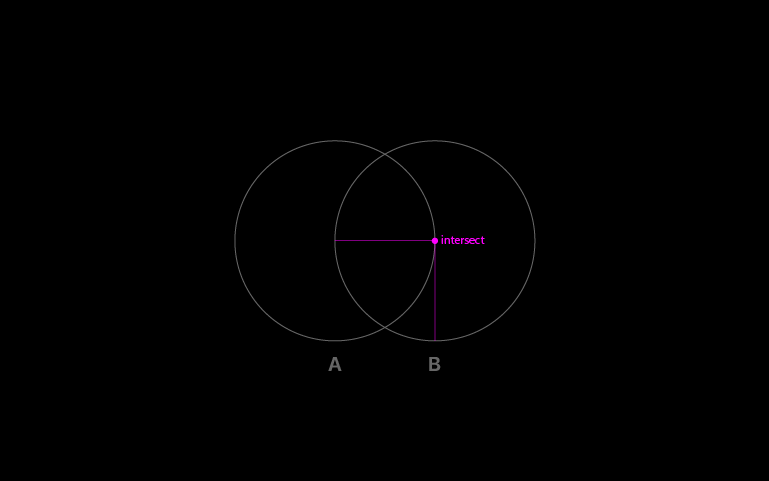
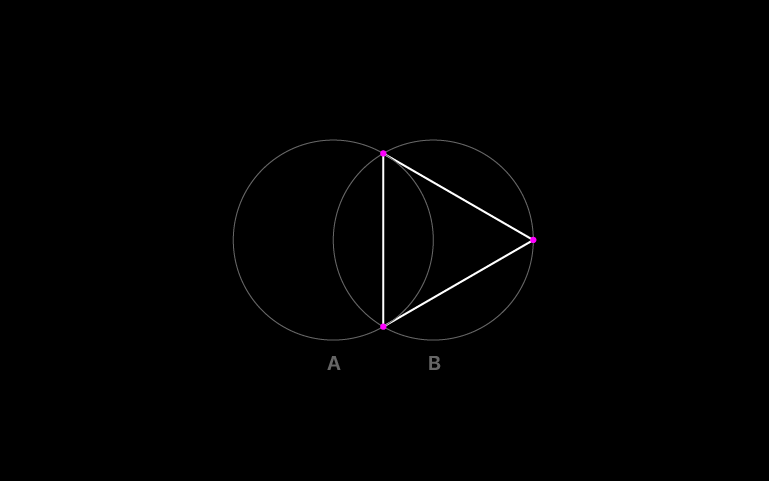
The first part is rigging i.e. setting up the triangle. Create the equilateral triangle inside the circle, such that all the three vertices of the triangle intersect exactly along the path of the circle (perimeter of the circle). The following diagrams illustrate the process to create one.
2) Aligning
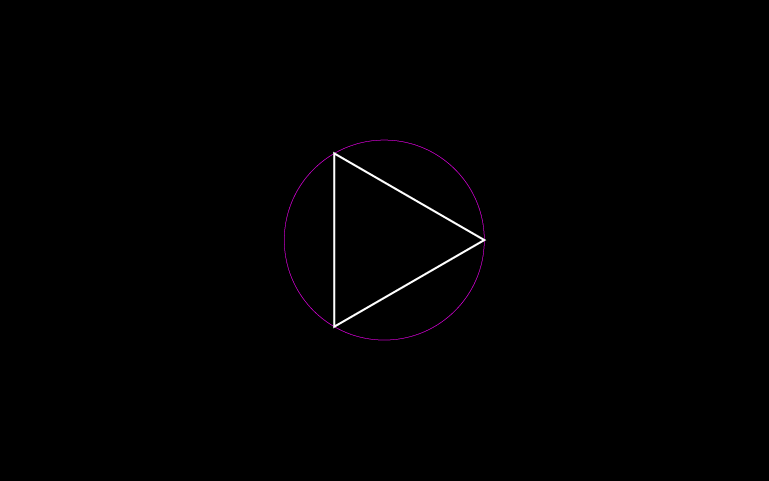
The next part is the alignment of the triangle. Group the object (triangle within the circle) and use it to align it to the other circle to create the optically aligned button. This rig ensures the optical alignment of the play button or the triangle inside the circle.


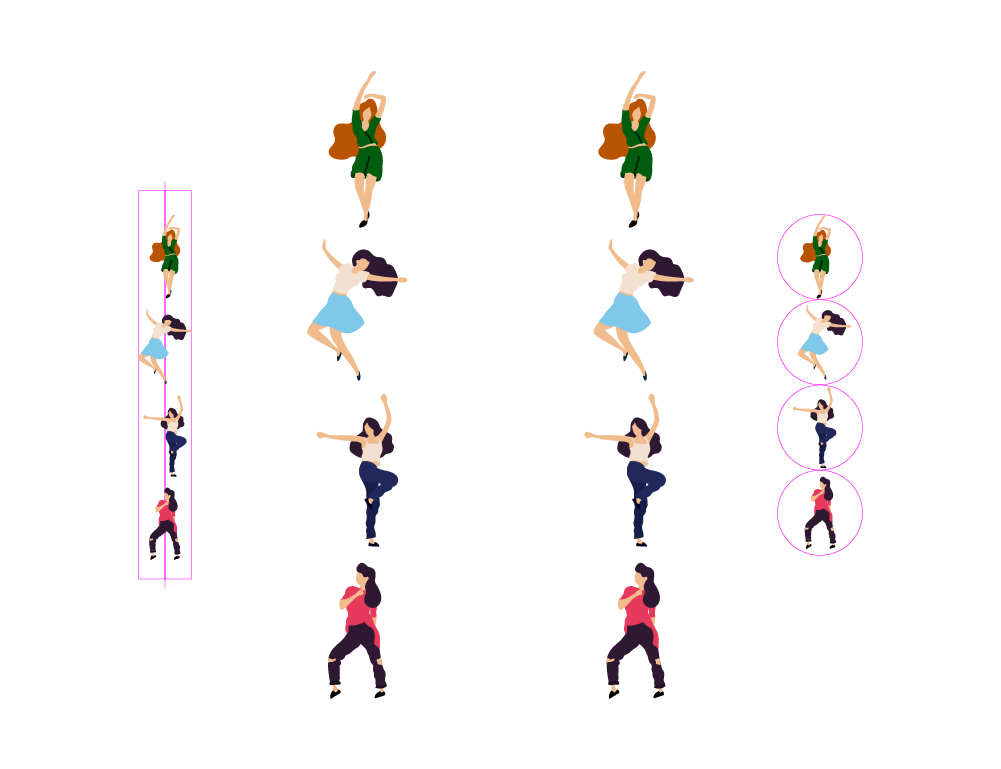
Not only with the play button, one will always encounter this alignment problem whenever he/she is trying to align multiple objects of widely asymmetric shapes and ragged edges. So in order to overcome this issue, one can practice drawing the circles around the objects, maintaining the consistent volume and area covered by the object, and thereby aligning the object using the alignment tool. Most of the time, the designer’s eye and judgement is enough to align these un-uniform objects optically and satisfactorily. Therefore the conclusion for this principle of an area or optical alignment in simpler words can be said as "When objects are simple and symmetrical, align them based on their edges; otherwise, align based on their areas."
Thanks. Let me know if this was useful for you too. :)