
Keyboard shortcuts and different effects tools can save time when working in Adobe Illustrator. Here are some of the most useful shortcuts and tricks I learned with images.
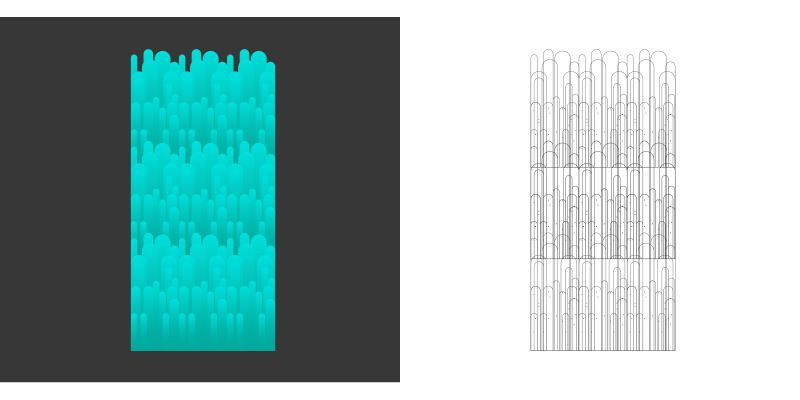
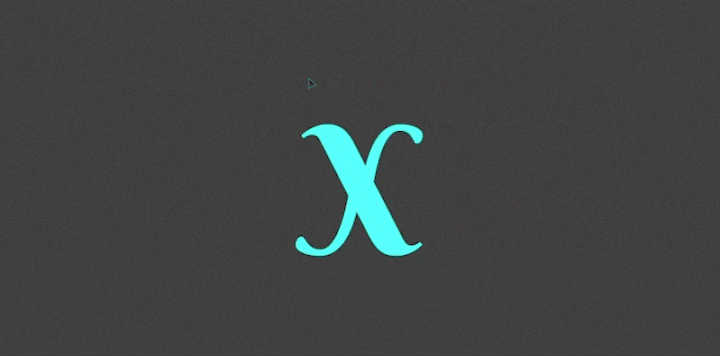
1. X-ray Vision - ⌘ + Y
Exposes the vector lines behind the artworks. Press the same keys to revert.
2. Clipping Mask - ⌘ + 7
Clip or frame any image or object into the shape you have created.

3. Cut, Paste in Front/Back - ⌘ + X , ⌘ + F, ⌘ + B
Cut/Copy an object with ⌘ + X and paste it in front with ⌘ + F. This function also has the benefit of maintaining the pasting position. ⌘ + B pastes the object behind the selected object.
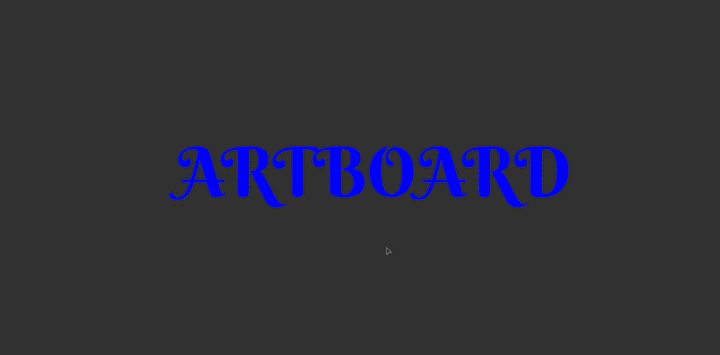
4. Create an Artboard - Shift + O
Select an artwork you want to fit on an artboard. Double click the object you want to fit on the artboard, and Illustrator will surround the object.
If the artworks or objects are separate make sure to have them grouped by pressing ⌘ + G too.
5. Reflect Shortcut - O
Pressing O while dragging the object will constrain the angles to 45 or 90 degrees.

6. Transform Again/Repeat Previous Action - ⌘ + D
This shortcut is useful when you want a certain object to be transformed similarly to the previous action.
For example, I want to duplicate the letter shown below with a constant space between them. I first duplicate the object by pressing Alt and dragging. The transform property from the last action will be saved.
Now, if I select any other object and press ⌘ + D, it will repeat the previous action, which was the duplication and moving.
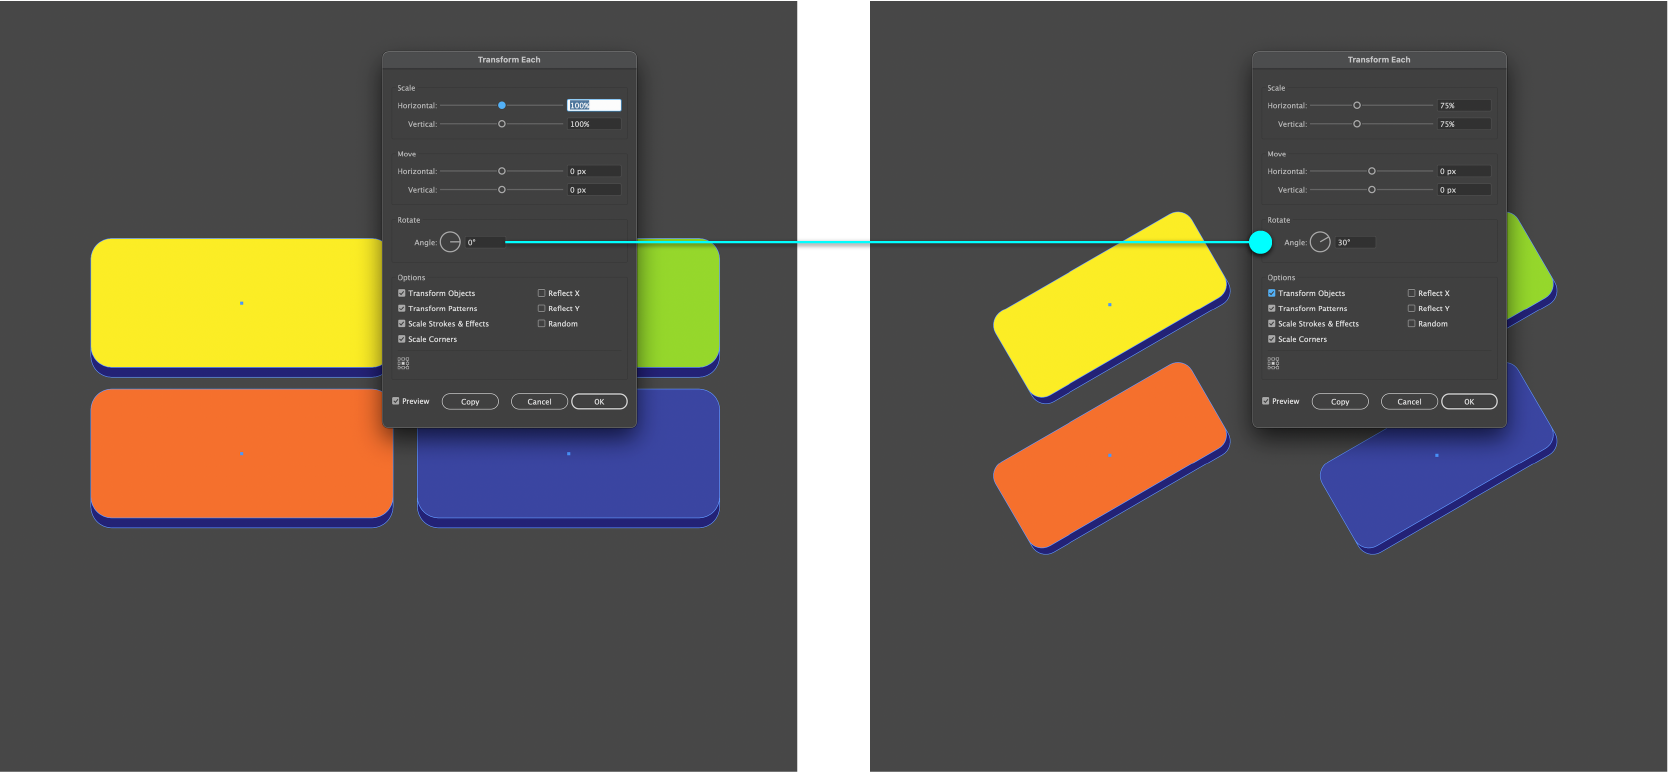
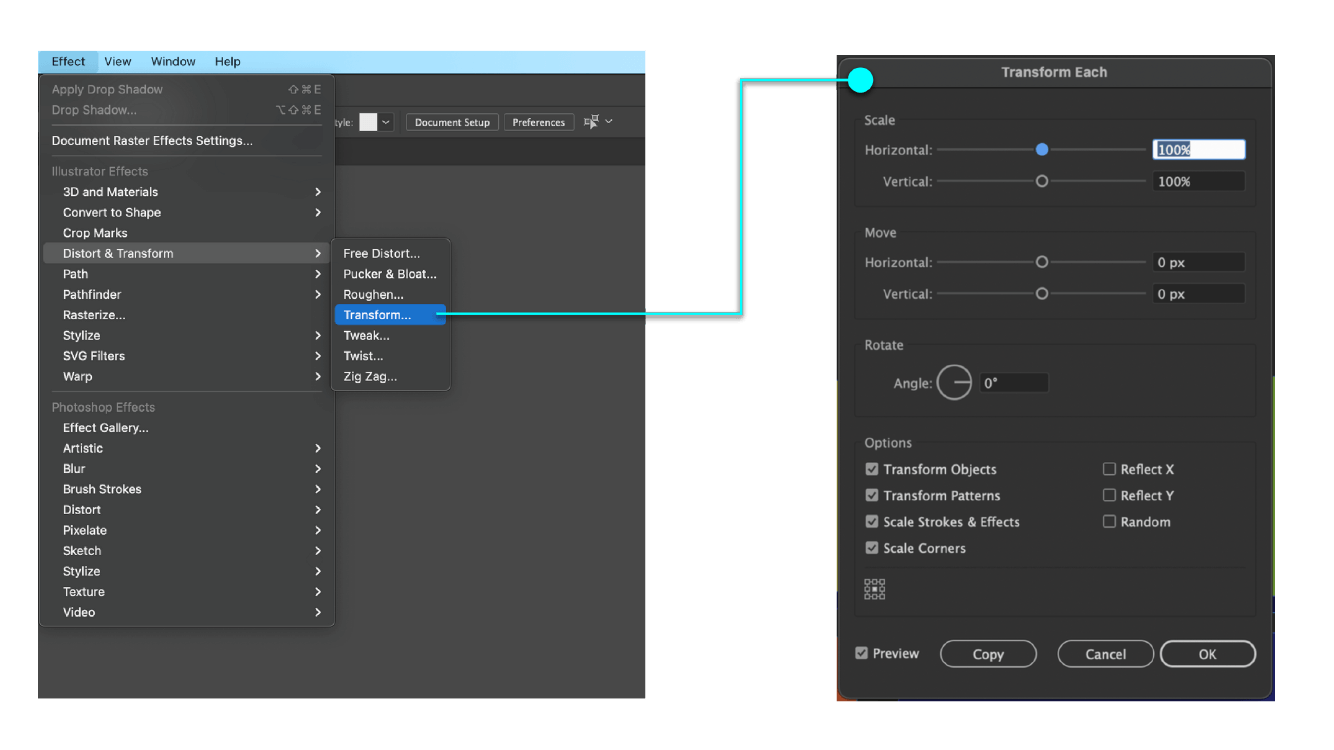
7. Transform Each Object - Shift + Alt + ⌘ + D
When selecting a group of objects and using the Transform tool with Shift + Alt + ⌘ + D, the transformation will be copied to all selected objects.
You can also manually find the Transform tool in Effect > Distort and Transform > Transform.
The transform tool allows many options like scaling, translation, and rotation.
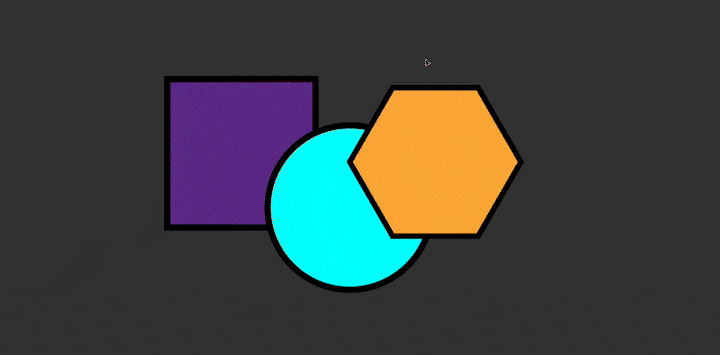
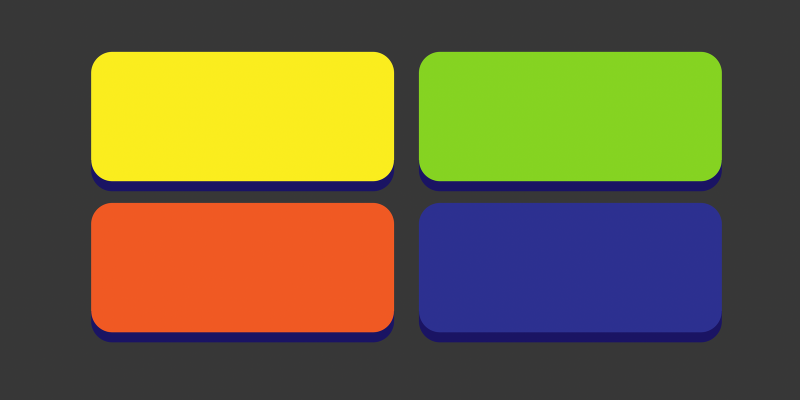
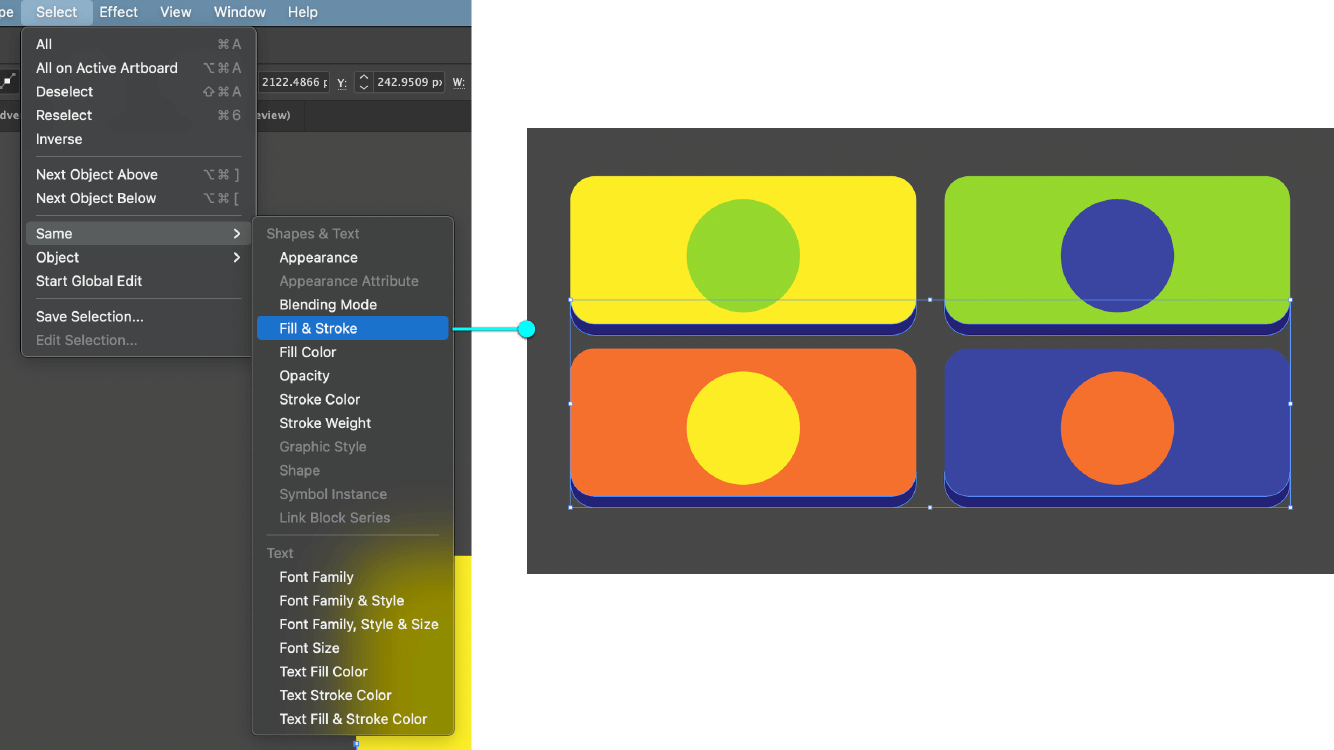
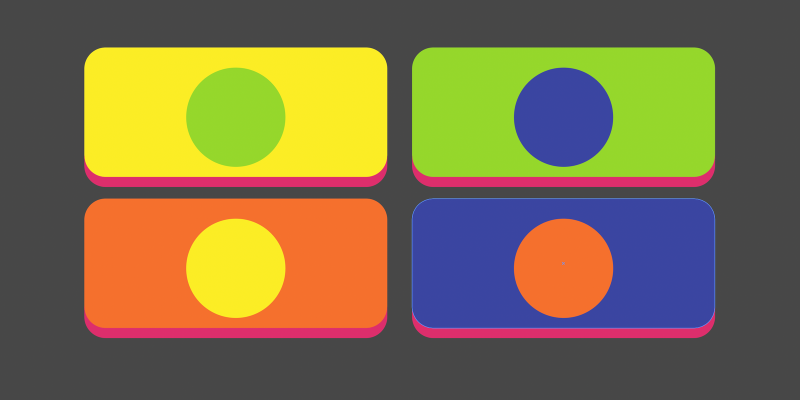
8. Selecting Same Shapes and Texts
When you have to change a certain object property within a group, manually clicking and selecting each shape or path could be lengthy. Luckily Adobe has some features to make life easier.
The selected objects must be of the same group for this function to work. You can use Direct Selection with A to select a shape you wish to change throughout the artwork.
To apply the effects on objects that are similar to your selection, go to Select > Same and select your desired effect.
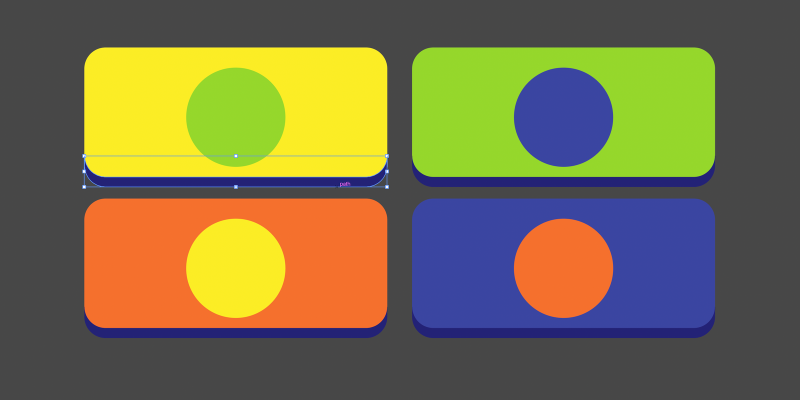
Once you have clicked the option the Software will detect shapes with the same colour fill and stroke property, which can be modified at once

When the transformation is done, the selected shapes shown above have changed colour without using the selection or direct selection tool.
Now, you can press ⌘ + H to hide the selection path to get the preview while the object is still selected.
9. Free Transform - E
Pressing E will display options for how you want to distort the artwork.
This is tool helps you to distort objects in perspective. It may be useful when you want to paste vector art onto a surface.
These are the few workflow methods that saved my time and sped up my workflow.
Hope these tricks do the same for you!